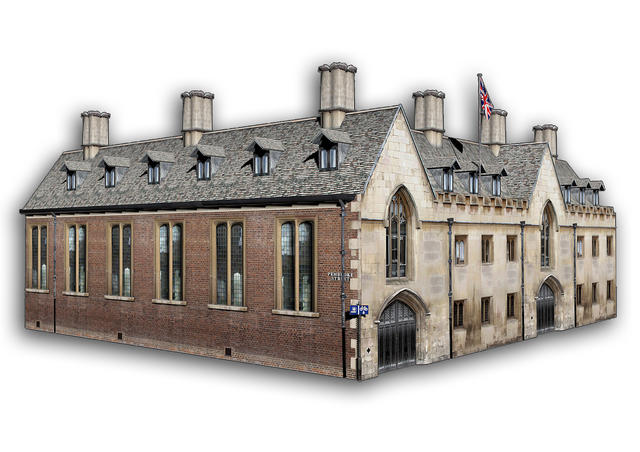
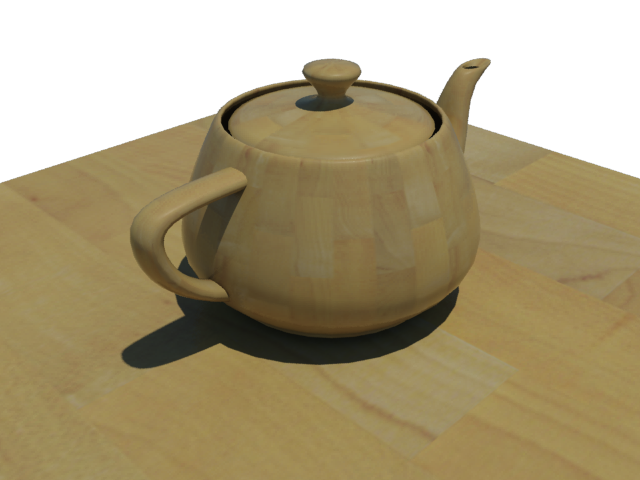
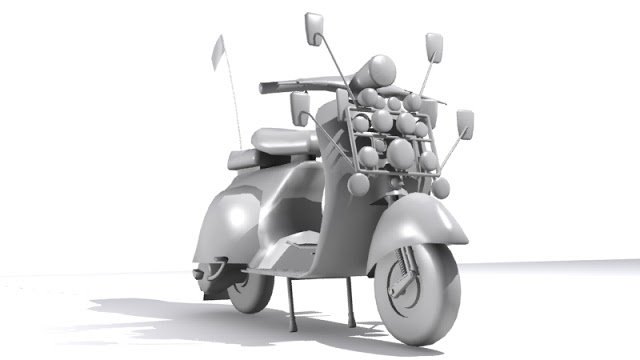
 This week I shot some textures in Cambridge for a modular building project I am working on. The benefit of modular building is the ability to use parts of the building like lego blocks to create variations using the same materials and without lots of modelling work. See below for example the blocks on the left can be used to create many variations of the building on the right. The Cambridge photo shoot Texture Pack is available in the Downloads section on this site along with the 3d Models, Photoshop .PSD files and a Prezi tutorial of how to create your own buildings quickly.
How To Easily Create Nice Renders in 3ds Max
Panorama's from Montreal, Canada
I am over in Montreal at the moment and I have had the chance to check out some of the beautiful scenery. Just using my compact click and shoot I have managed to get some nice panoramic images. More Panoramas in the Photography section on this site.
Montreal, Canada
Ambient Occlusion How To: 3ds Max, Mental Ray and Photoshop
As mentioned in Basic Compositing in Post Production I will go through how I create an ambient occlusion material and use it in Photoshop. Ambient occlusion can be used to enhance shadows in renders. I have set up a model of a Vespa that I previously made and added some lights to the scene. This is how the render currently looks.
In a new material slot in the material editor (M on the keyboard) the first thing I do is change the Ambient and Diffuse colours to black and tick on Self-Ilumination.
Then up the max distance in the Ambient/Reflective Occlusion Parameters until you get your desired result. Here is mine.
 Save the render and open the original and Ambient Occlusion Render in Photoshop and whilst holding Shift drag the Ambient Occlusion onto the original render and change the layer style to Multiply. You can also change the opacity if need. Here is the final result.
Fate Of The World Wins Best Artistic Response
Fate of the World is a global strategy game that puts our future in your hands. Decide how the world will respond to rising temperatures, heaving populations, dwindling resources, crumbling ecosystems and brave opportunities.

During the summer of 2010 I spent some time in Oxford at Red Redemption working on the strategy game Fate Of The World. Fate of the World is a PC strategy game that simulates the real social and environmental impact of global climate change over the next 200 years. I am happy to report that Fate Of The World has been awarded Best Artistic Response at the Climate Week Awards.
Best Artistic Response WINNER: Red Redemption – Fate of the World. The computer game Fate of the World requires you to manage the earth’s food, water, energy and forests, while dealing with a growing population and threats from floods and extreme weather. Red Redemption raised £1 million for this follow-up to their BBC Climate Challenge. Their team has producers, writers and composers whose previous credits include James Bond and Dr Who. Released in February 2011, the game’s scenario spans the next two centuries and puts all of our futures in your hands. It uses the latest scientific data and the team included Oxford University climate scientist Myles Allen. The New York Times said “While ‘Fate of the World’ arms you with environmental data and renewable energy policies rather than grenades and rocket launchers, the result is still compelling”.
Related articles
Basic Compositing in Post Production
I recently completed a couple of new interior renders for an Avro RJ using 3ds Max and Mental Ray. So I thought this would be a good time to explain the basic Photoshop Postwork I go through.
Compositing in post production is one of the most important and probably most over looked parts of CG. It was only recently I started compositing different renders to improve the quality of my final images, so I am in no way an expert but this is how I composite my images.
The most important thing is lighting, something that I am yet to master but here are some great links to get you on your way. 8 Tutorials To Make You Fully Understand 3D Lighting In CG. But this will only get you as far as the render output on the image above.
Adjusting the Levels (Image > Adjustments > Levels) in Photoshop will make sure you are getting the most colour range out of your image.

Rendering out an Ambient Occlusion Pass from your 3d application is one of the best ways to improve results. The render will look something like the one here. Put it on top of your image in Photoshop and Multiply or Overlay it in the layers, you can also adjust the opacity. I then duplicate and merge the layers and adjust the Levels and the Brightness and Contrast.
When rendering out of 3ds Max I have found the images could do with crisping up. To do this add a Unsharp Mask. (Filters > Sharpen > Unsharp Mask)
To get a Lens Blur or Depth of Field you will need to render out a Zdepth pass. The output should look something like this one. You can override all materials instead of replacing them in 3ds Max (Render Setup > Processing > Material Override > Check the Box and drag the material in.) The last thing I do is adjust the contrast and save the image out. There is so much more you can do but here are the basics of what I generally do.
New Interior Renders using Mental Ray
How to Model, Texture, Light and Render a Macbook in 3ds Max
I have a series of lectures coming up and one of them will be Modelling a Macbook in 3ds Max, here is the first attempt. This video is at about 10x speed and shows how to set up blueprints and model the Macbook using simple primitives and pro boolean. I am not the biggest fan of boolean but in this case they proved very effective. http://www.youtube.com/watch?v=3fbc_jj8MXg In the second video of the series I go through Texturing, Lighting and Rendering a Macbook in 3ds Max. This time it is a brief introduction to materials and texturing. Again the video is at about 10x the speed and shows a simple Mental Ray setup for rendering, materials and adding an animated texture to the object.
http://www.youtube.com/watch?v=stxr7l-yZxM
You can also buy my model from turbosquid.
Studio Lighting in 3ds Max using Mental Ray
Some time ago a watched a great tutorial by Chad Ashley on Vimeo called Studio Lighting in 3ds Max using Mental Ray. It has since disappeared but here are the results I got from following the tutorial. You can download the scene file in the downloads section on this site.


