Mental Ray

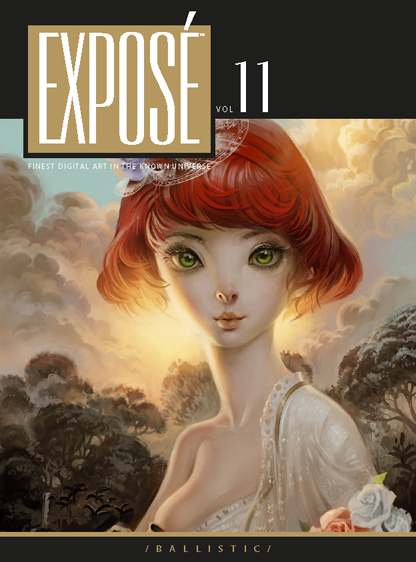
Expose 11 - Finest Digital Art in the Known Universe

Expose.jpg

expose11_cover

Expose11-web

I am extremely proud to say I am in this years Expose from Ballistic Publishing. I am very happy to be featured next to the best artists in the world. This year had over 8000 images submitted from 58 countries. My image the Red VW Camper can be seen in the Transport section of the book. You can see more of my publications here. The Red VW Camper is available for download over on Turbosquid.

http://www.youtube.com/watch?v=PVpWOGRGRFk

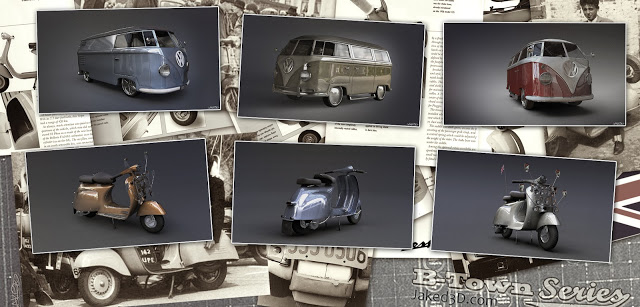
Latest 3D Work - The B-Town Series

B-town Series Jaked3d
.
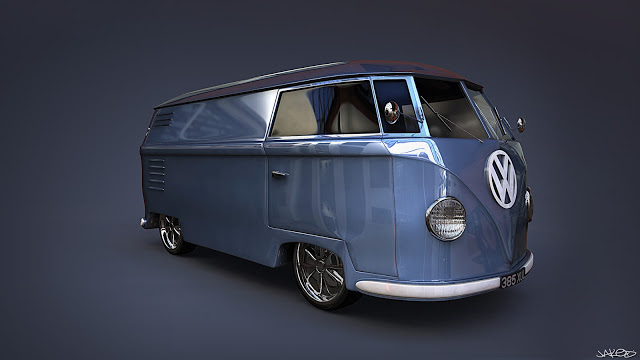
Blue VW Jaked3d
.
Yellow VW Jaked3d

.
Red VW Jaked3d
.
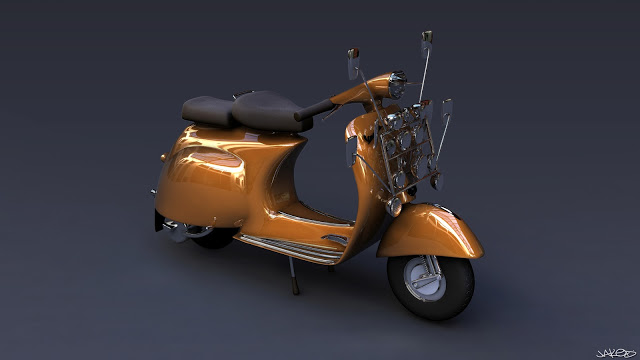
Orange Vespa Jaked3d
.
Blue Vespa Jaked3d
.
Gold Vespa Jaked3d
This set of images are influenced by my time in Brighton, you may have seen the Vespas before as I started them a little while ago and they were in 3D World's Portfolio section of the magazine. The VW's were inspired by the VW show I saw when I first moved to Brighton, I posted some pictures of that back in October here. The Vespa took two days to model and adding materials, rendering and post-production took another two. All the images are rendered using Mental Ray.

Creating an ocean in 3ds Max using Wave Generator

Test scene2

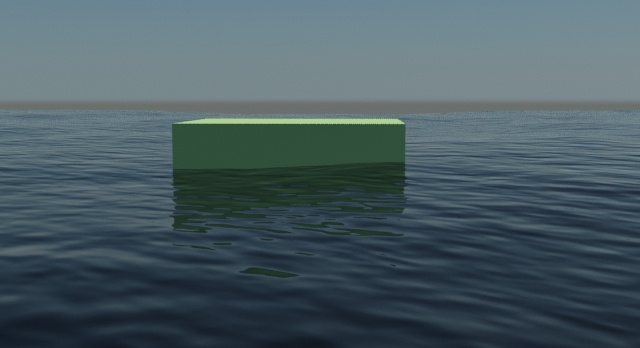
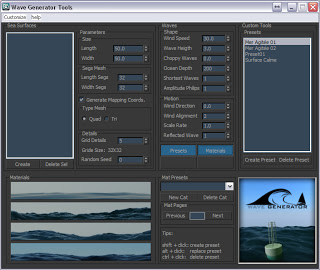
waveGeneratorTool_01Wave Generator is a Plugin written by Ruben Mayor and Philippe Jadoul for 3ds Max. Very quickly you can generate ocean surfaces including control over waves. The plugin is currently in alpha version. We needed a solution to create various oceans surfaces. Wave Generator gave me the ability to create the ocean as a 3d object then add materials or even export it to other applications.  I found it very straight forward to work with and in 3ds Max I just add a daylight system and a generic mental ray water material to create the image above.

You can download Wave Generator here.

HDRI Reflections

3.jpeg

1-2This post is to describe how I got the reflections on the Vespa in a studio environment. I think you can just add a HDRI to the environment slot in the material editor. But I did it like this.

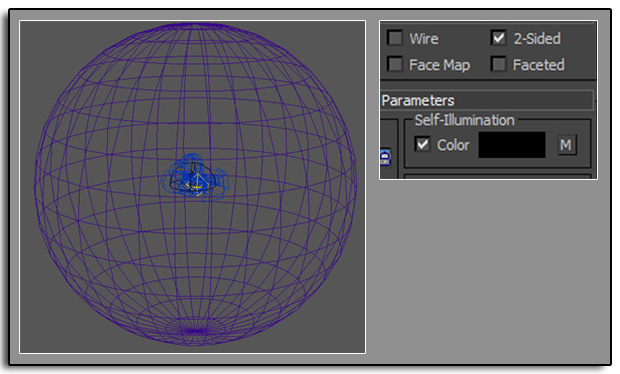
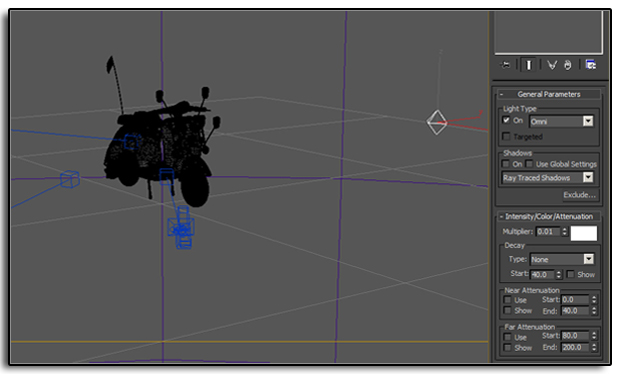
I created a sphere around the Vespa and applied the HDRI checking it was 2 sided and in the Self-Illumination slot. The Vespa is on a plane with an omni light with a multiplier of 0.01. When it came to rendering I added a Object ID pass and a separate object id to the bike, plane and sphere in the objects properties. The pass and render are below

3Using the pass in Photoshop I masked out the background and added a gradient. I hope this all makes sense please feel free to add any comments and ask questions below.

4

Basic Compositing in Post Production

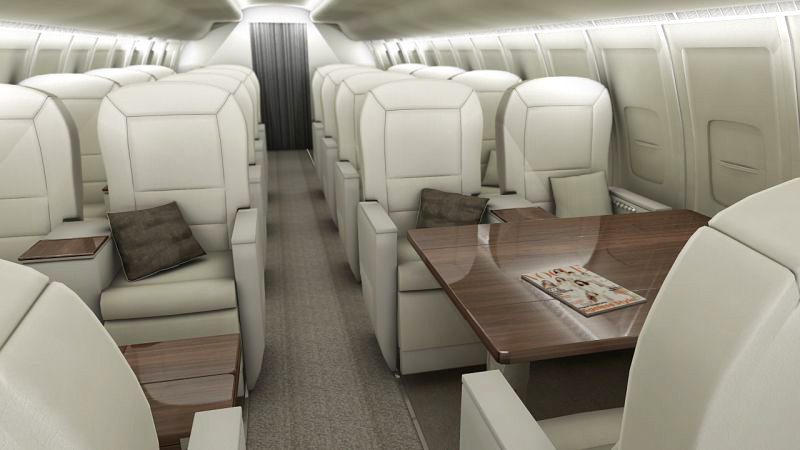
I recently completed a couple of new interior renders for an Avro RJ using 3ds Max and Mental Ray. So I thought this would be a good time to explain the basic Photoshop Postwork I go through.

1evp88

Compositing in post production is one of the most important and probably most over looked parts of CG. It was only recently I started compositing different renders to improve the quality of my final images, so I am in no way an expert but this is how I composite my images.

The most important thing is lighting, something that I am yet to master but here are some great links to get you on your way. 8 Tutorials To Make You Fully Understand 3D Lighting In CG. But this will only get you as far as the render output on the image above.

Adjusting the Levels (Image > Adjustments > Levels) in Photoshop will make sure you are getting the most colour range out of your image. Render3ao

Rendering out an Ambient Occlusion Pass from your 3d application is one of the best ways to improve results. The render will look something like the one here. Put it on top of your image in Photoshop and Multiply or Overlay it in the layers, you can also adjust the opacity. I then duplicate and merge the layers and adjust the Levels and the Brightness and Contrast.

When rendering out of 3ds Max I have found the images could do with crisping up. To do this add a Unsharp Mask. (Filters > Sharpen > Unsharp Mask)


Render3zd

To get a Lens Blur or Depth of Field you will need to render out a Zdepth pass. The output should look something like this one. You can override all materials instead of replacing them in 3ds Max (Render Setup > Processing > Material Override > Check the Box and drag the material in.) The last thing I do is adjust the contrast and save the image out. There is so much more you can do but here are the basics of what I generally do.


How to Model, Texture, Light and Render a Macbook in 3ds Max

MacPro.jpg

I have a series of lectures coming up and one of them will be Modelling a Macbook in 3ds Max, here is the first attempt. This video is at about 10x speed and shows how to set up blueprints and model the Macbook using simple primitives and pro boolean. I am not the biggest fan of boolean but in this case they proved very effective. http://www.youtube.com/watch?v=3fbc_jj8MXg In the second video of the series I go through Texturing, Lighting and Rendering a Macbook in 3ds Max. This time it is a brief introduction to materials and texturing. Again the video is at about 10x the speed and shows a simple Mental Ray setup for rendering, materials and adding an animated texture to the object.

http://www.youtube.com/watch?v=stxr7l-yZxM

You can also buy my model from turbosquid.